

Part 1: Introduction Hey there, boho babes! With Easter just around the corner, it’s time to start thinking about festive decor that’s not only gorgeous but also eco-friendly. That’s right, we’re talking about decorations that can be recycled or composted and won’t take up space in your closet for the rest of the year. One fun and easy DIY project to try is painting cardboard eggs with a floral pattern.
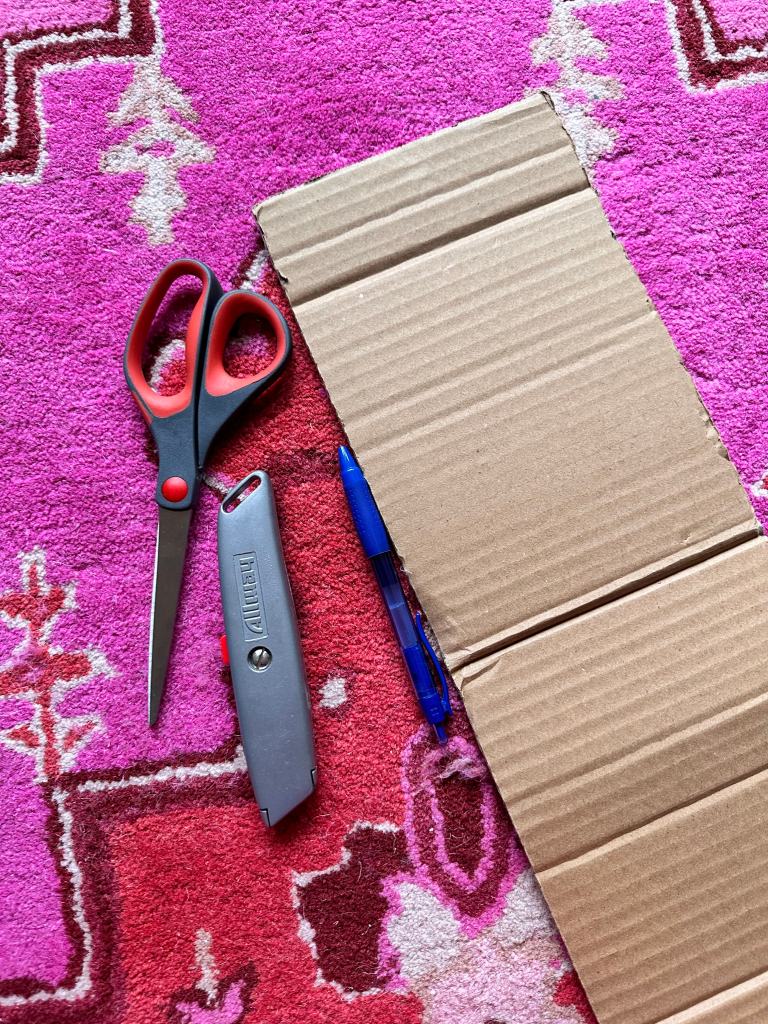
Part 2: Gather Supplies To make these cardboard egg decorations, all you need are some old cardboard boxes, a pair of scissors, some paint brushes, and cheap acrylic paints that are left over from other projects. You might also want to grab a pencil to sketch out your designs and a ruler to measure out your egg shapes.

Part 3: Prep Your Cardboard Start by cutting out individual egg shapes from your cardboard boxes. If you have an egg-shaped cookie cutter or stencil, that can make the process even easier. Try to make your egg shapes as uniform as possible, but don’t worry if they’re not perfect.

Part 4: Paint Your Base Coats Using your leftover acrylic paints, paint a base coat on each egg shape. You can choose any color you like, but pastel shades are perfect for Easter. Let the paint dry completely before moving on to the next step.

Part 5: Paint Your Floral Pattern Using a fine-tipped paintbrush, start painting a floral pattern on top of the base coat. You can use real flowers or photos of flowers for inspiration, or create your own unique design. If you don’t have a steady hand, you can also use stencils or stamps to create your pattern. You can see in the pic above that my inspiration was actually taken from some paper napkins that I bought at HomeGoods, haha. I was obsessed with the pattern on them and thought it would be fun to tie it all together.

Part 6: Add Some Greenery Don’t forget to add some greenery to your floral pattern to make it even more realistic. Use a small paintbrush to add leaves and stems in shades of green.
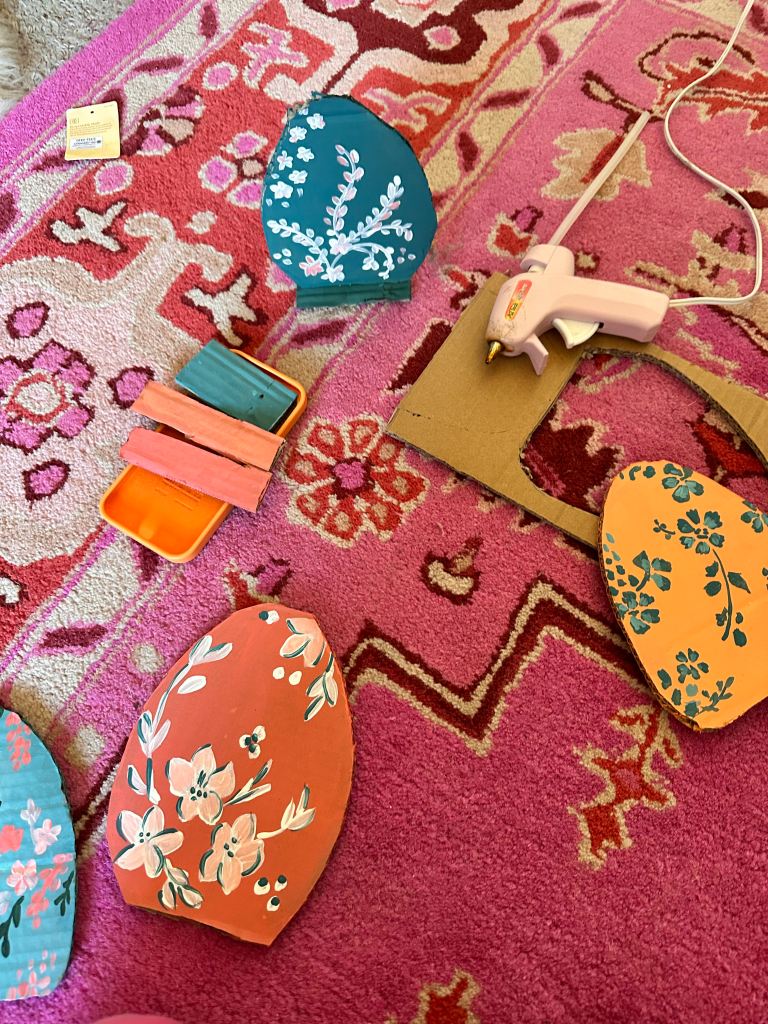
Part 7: For me, I wanted to use mine as table decor for a centerpiece in my dining room. So I wanted to make a base for each of the eggs. I painted a piece of cardboard to match the color of the egg. I hot glued the piece down onto it. Because it’s just cardboard it was very light weight and it easily stands on its own!
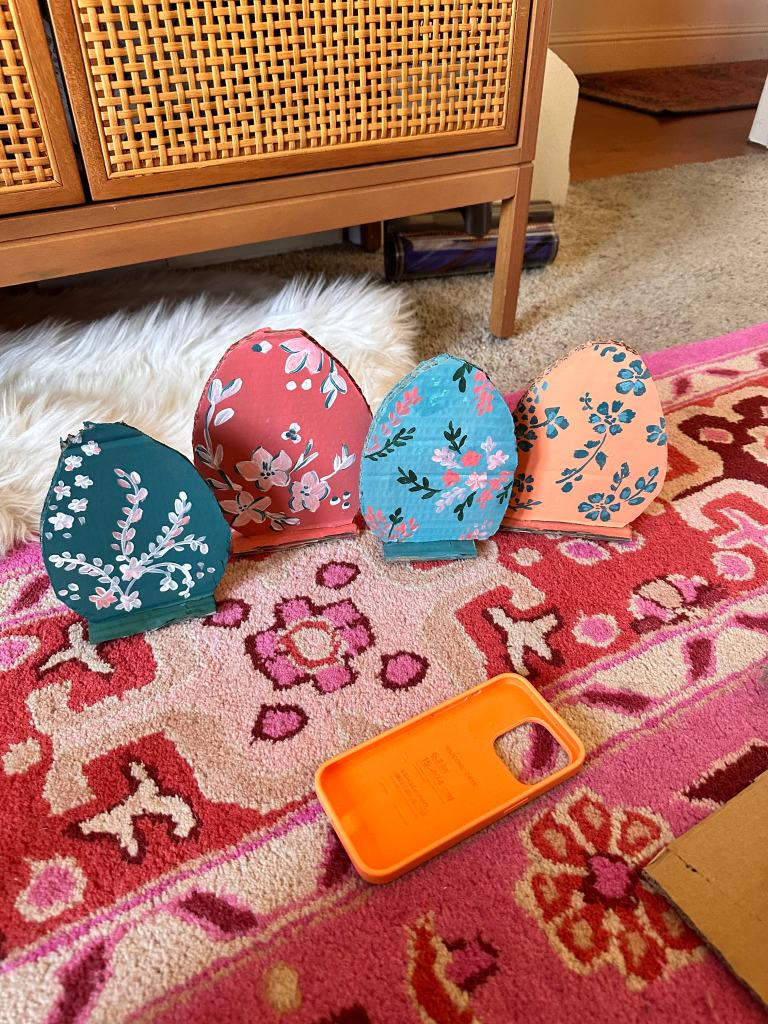
Once your egg shapes are dry, you can string them up as garland or display them in a bowl or basket as a centerpiece. And when Easter is over, simply recycle or compost your cardboard eggs, guilt-free.
So there you have it, a fun and eco-friendly Easter decor idea that won’t break the bank. With just a few simple supplies, you can create beautiful and unique decorations that are perfect for the holiday season. Happy crafting, boho babes!

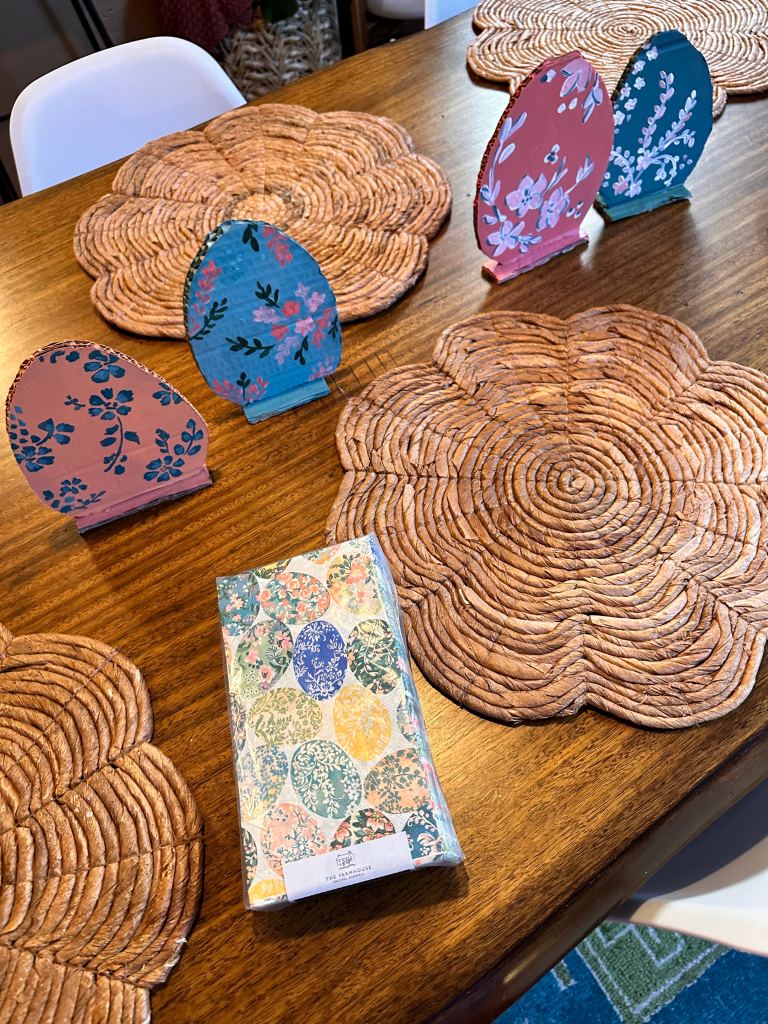
Here’s while I was putting together the final result with some fresh florals and my every day dishes/placemats. I opted for a variety of colors to make it fun and spring focused! I have a few more additions to make, but it really is so cute and I think it’s such a fun, easy craft that doesn’t require you to spend any money and you don’t have to store anything when you’re done!
What do you think of this easy Easter DIY?!
xoxo,
Amanda
