

Okay, so this obsession started a very long time ago when years ago I saw a gal who painted a fake cake and she hung up on her wall. It was the perfect amount of bizarre and interesting and conversation starter. Back then it was way out of my budget and I definitely didn’t think that I would be able to make one.
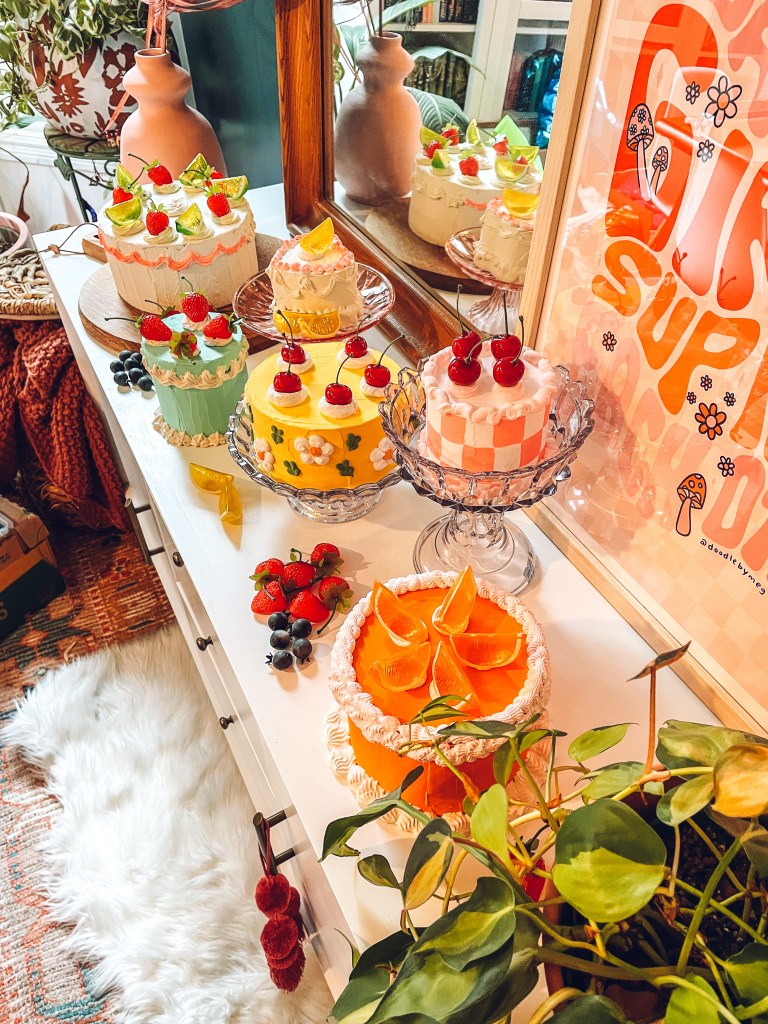
Flash forward to March of 2022 when I was walking by a store in my neighborhood. The cutest store, by the way, Jenny Lemons! I saw this display in the window:
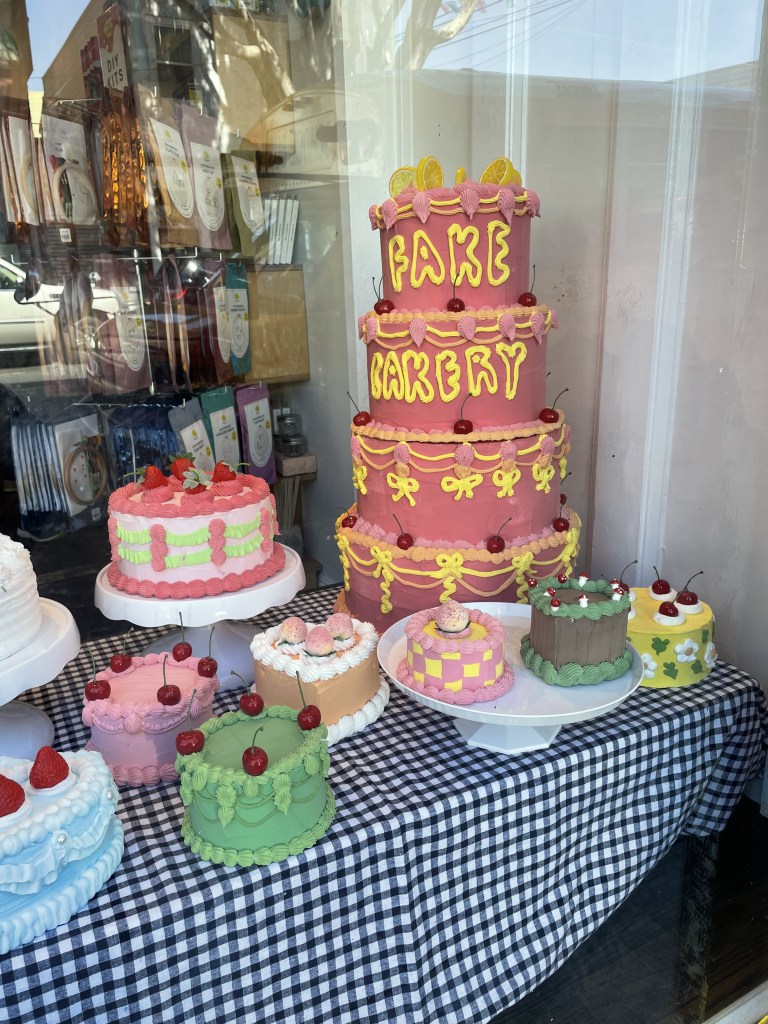
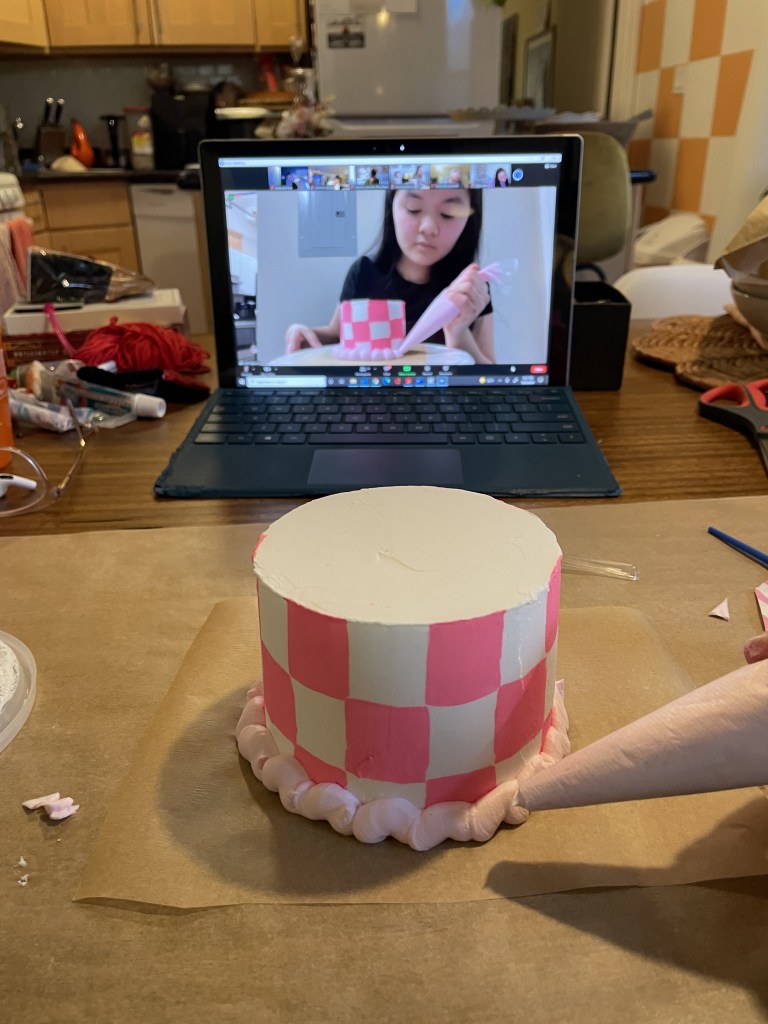
I also noticed that they were hosting a class where the shop would send you the supplies for a cake and you could join a live zoom where the maker of these lovely cakes would teach you how to make your own. I signed up so fast, haha.

Then I just needed to wait for the night of my course!

OK – now onto the good parts! Here’s how you can make your own.
Supplies:
- Spackle
- Cake Form
- Piping Bag
- Paint
- Paint Brush
- Fake Fruit
- Piping Tips
Tips on Supplies:
Cake Form:
- You can order anything off Amazon, you can also find most things at your local hardware store.
- For the cake forms, I actually ended up using several different ones with different results
- FOAM CAKE ROUND: This is the best because it’s already smooth, doesn’t react poorly to moisture and comes in very standard sizes
- STYRAFOAM CAKE ROUND: Pros – this comes in great standard sizes and is easy to find online, a Michaels, etc. Cons – it has a very textured outside so it makes it a lot harder to get a smooth finish. You might find yourself in need of several coats. I also found them to be pricery than what I wanted to spend.
- CARDBOARD BOX: Pros – you can make this from scraps you already have and it can be zero waste! I also found some at the dollar tree and I was happy to have a variety of shapes and sizes for about $1 each. Cons – It seemed like the moisture was somewhat of a problem for them and I worried about more complex designs not holding on or adhering very well.
- ANYTHING ELSE? I would say it’s worth trying on anything because the supplies are not very expensive and it isn’t too much effort to pipe a bit of spackle on there and see what happens!
Spackle:
- Light weight is easier to work with. If you get the classic you’ll need to add about a teaspoon of water to a bowl of the mixture to get it to be the right texture. Do not over water. If you add too much water it will get runny and drip down your cake.
- There’s several that turn from pink or purple to white when dry. I would not recommend using this if you intend to color your “frosting” with paint. It makes it very hard to tell what the final color will be while it’s still wet. I would recommend using a classic white!
Paint:
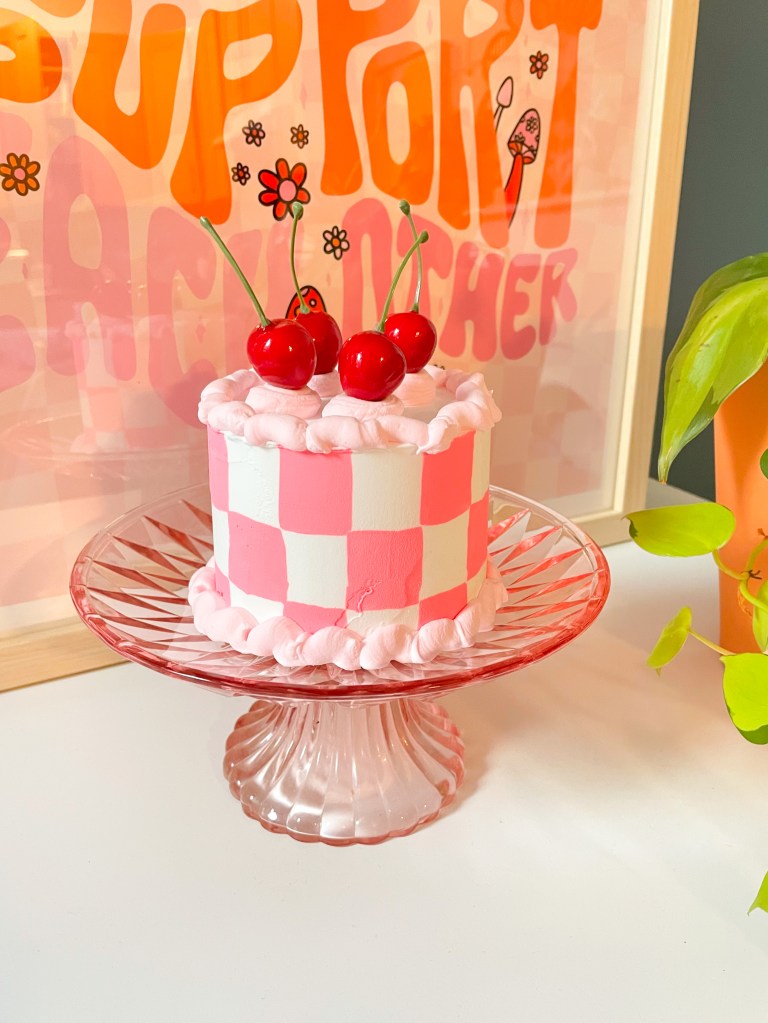
- No need to get fancy! Just a class $1 bottle of craft paint will allow you to make a ton of fun colors. You also have the option of painting the cake once it’s completely dry vs. adding a few drops of paint into the wet spackle mixture and piping it the color you want. I think both have valid uses! For example, the checkerboard design was achieved by painting after the fact!
OTHER HELPFUL ITEMS:
- A lazy susan is super helpful for decorating!! It allows you to spin your cake around and paint or decorate all sides without touching it.
- The knife spreaders that bakers use to smooth out the frosting is also helpful! I got some classic ones for DIY and they helped keep the designs looking realistic
So — what you want to do…
- Step one – cover your cake form in spackle and let that completely dry before you attempt to decorate it. You’ll want to try and create a smooth base. This base is the easiest to paint, but feel free to dye your spackle or paint it after it’s dry. The paint layer will dry really quickly on the spackle.
- Next, mix your spackle to your desired consistency and color.
- Put your spackle into a piping bag and decorate however you want!
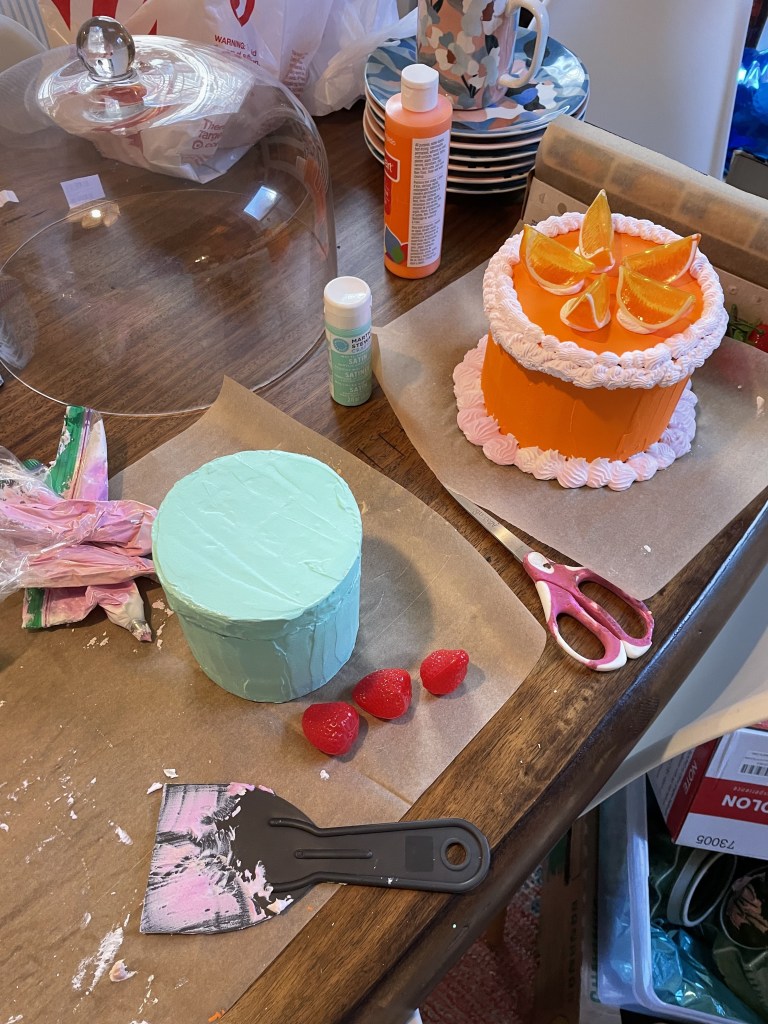
- You’ll take the fake fruits and you’ll plop them on using the spackle as the “glue”! It’ll hold perfectly and it’ll look more natural like you dropped the fruit right down into the whip cream!
- After you’ve decorated it, it’ll need about 24 hours to be completely dry
- NOTE — do NOT place the completed cake directly on your table or furniture. The spackle CAN stain!
- NOTE — these are very delicate and they can easily break, so be mindful of that when planning your design

Design tips!
- Look for real cakes as your inspiration! This is a fun way to design something as a keep sake. Pinterest is a great resource.
- Here’s a Pinterest Board I put together with some ideas to get you started!
- Don’t forget to follow me there 🙂
- Don’t be afraid to celebrate something and write out a word or phrase
- Go Get ‘Em!
- You’re a Badass!
- Your Name
- Your Cat’s Name
- There are no colors that are off limits and I think the more colorful the more fun.
OK, well I hope this was helpful to you!! Please let me know if you have any questions for me and I’d be happy to answer them!
xoxo,
Amanda
