

Inspiration
I’ve been seeing checkerboard everywhere and I’ve been wondering how to incorporate it more into my home. As many of you know, I’m in a rental, so it’s important to me that I do as many reversible projects as possible to save us the hassle when we eventually move out! We love a renter friendly project over there!
**Bohofrisco Reminder: it’s super important that you love your homes and not having a home you love while you live there just so you can avoid a weekend of work – that’s a terrible trade off!**
I started looking online and came across several folks who painted their walls in a checkerboard design. I knew that was an option — but I really wanted to see if there was a different option that would work better for me. I remembered that you can order 12″ x 12″ sheets of removable vinyl. I’ve used them before on another project where I cut out palm fronds to put in my bedroom. That would have been ideal, but unfortunately, online the 12″ x 12″ squares were almost always a variety pack and I had a hard time coming across any that were a uniform color. (Bummer!) But, of course, where there’s a will there’s a way!
Process
Whenever I start thinking about a project I like to do a mock up before comitting to anything. I’m such a visual person, I know that if I spend the time to draw it up or photoshop it together, I will be much happier in the long run. For this, it started with me making a doodle on an instagram story and realizing the idea could actually be quite cool. Then, I got out my ipad and actually drew the boxes a little more evenly which helped me see how the scale of the squares might look on my wall. Below is a picture from my messy room that I drew on in Procreate and I’m shocked how close the final product is to this mock up.
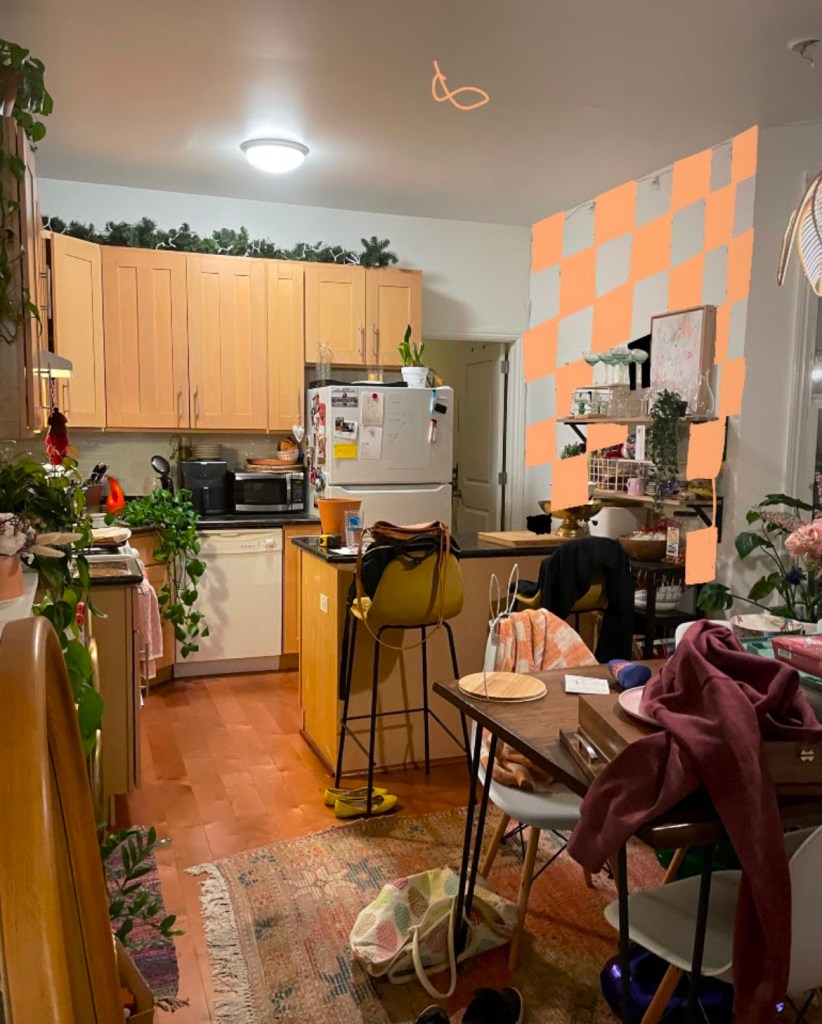
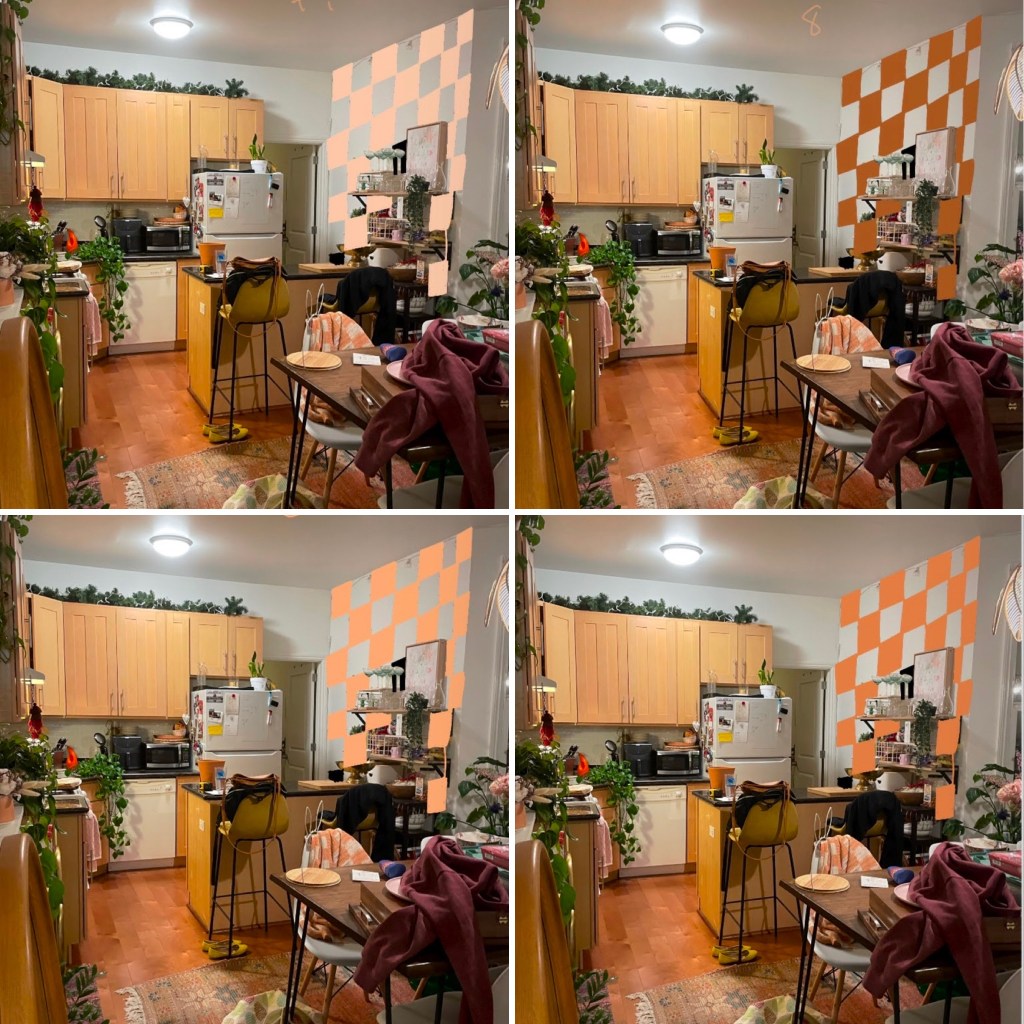
I strongly recommend doing a mock up before making any big changes! It really will give you such a better idea of what colors to use, how big to go, and other things that you usually can’t tell until the project is happening. For me, I considered several other colors including purple, green, and biege. Ultimately, I decided that the orange was the right color for me and I’m so glad I went with my instinct. The fun thing about using something like Procreate is being able to see all of the color options for the checkerboard with an easy click of a button.
Supplies
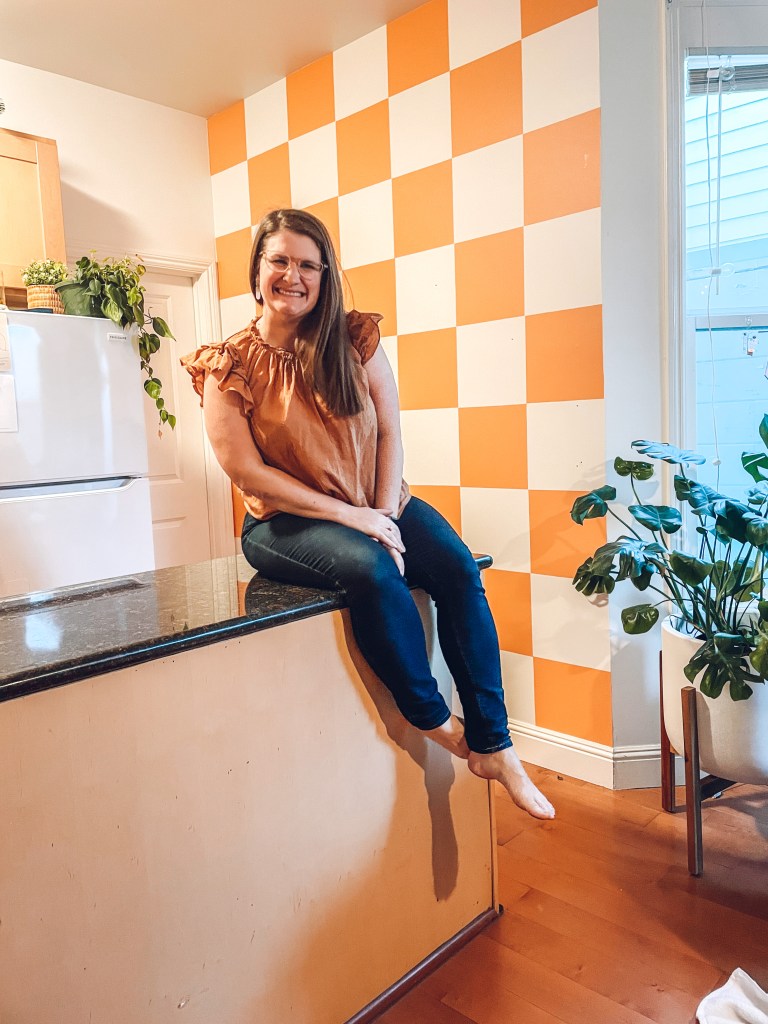
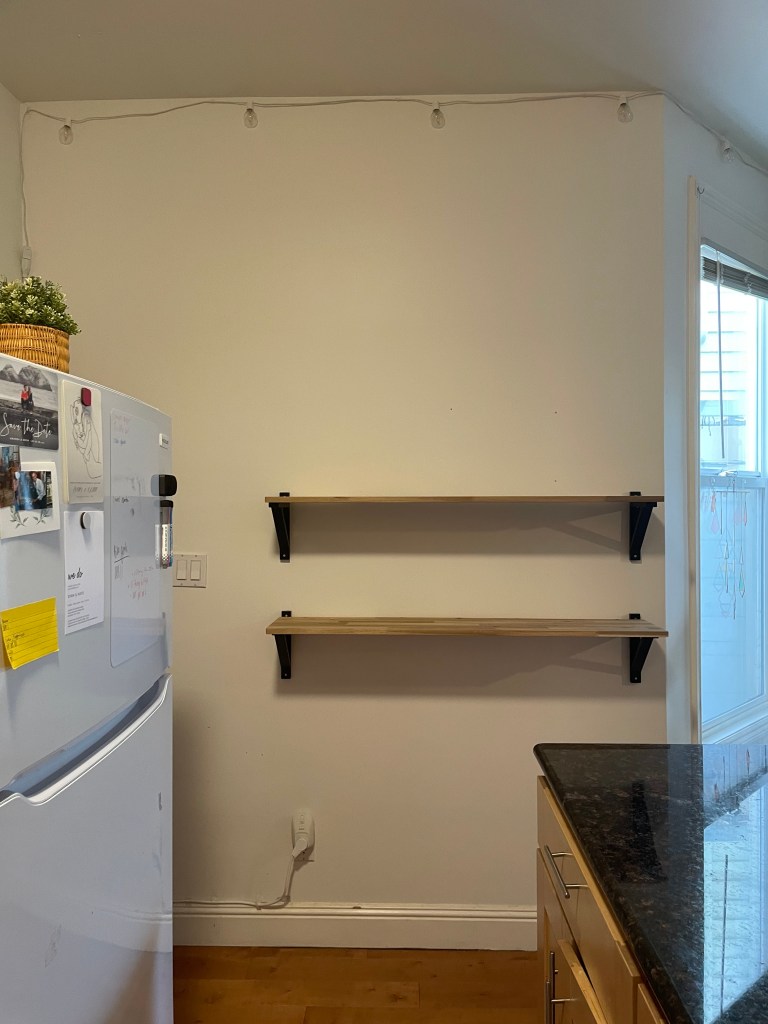
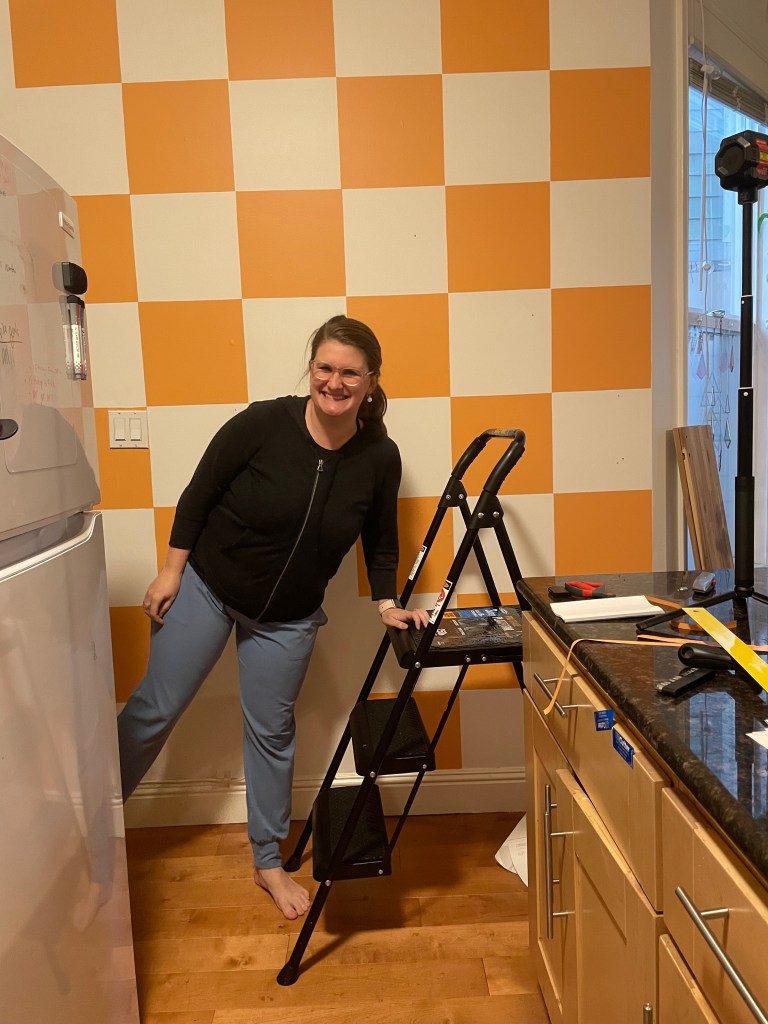
Vinyl is tyipcally sold in a roll for projects using a Cruicut. They sell the vinyl traditionally in a removable and a permanent format. It’s essential that you choose the right one for your project!! For me, to make sure it’s removable and renter friendly, I used the removable kind. There are several brands and for this project, the best option for me was Oracal 631, in apricot. I decided that my kitchen wall would be the perfect place for the square tiles because this wall has been very plain and I’ve been thinking of projects that could make it better. Because I bought the vinyl in a 24″ x 10 yard roll, I had to cut out the 12″ squares by hand. I was intimidated by this process, but it was actually super easy and I think my squares look really uniform. The vinyl is pretty thin so it cut very easily with scissors.
Supplies I used:*
- Box Cutter for the ceiling and the edges, but just plain scissors for cutting out the squares
- Laser Level (I think this was somewhat essential to the success of the project)
Uneven Walls
Note — if your walls are uneven at all, it’s important to account for that when placing the tiles. I measured to see how much of a difference there was down the right side. For me there was a difference of about one inch. That means I needed to make the bottom one flush with the edge and then the top one was overhanging by one inch. This is called a “plumb line” if you look it up. This technique also works for wall paper. I also had to be aware of the same sloping on the ceiling so I pushed the first tile up with a one inch over hang onto the ceiling. By the time we got to the far left of the wall it was flush again.
I would recommend starting in the middle and using a laser level to keep the eye level part the most even.
Mistakes
You might think that because it’s a grid you have to get it perfect, but you actually don’t. The most important part really was that you get it essentially level. There were several squares where the corners didn’t line up perfectly and you would not be able to really tell from a distance of even a few feet back. Also, when you use the removable vinyl it’s very easy to pull off a square and start over. I repositioned several squares and it was perfectly fine. I even added to a square that got cut short and I really do not think it’s noticable. This is one of those DIY projects where you can just go for it!

*When linking items, I may receive a small comission for sharing the link. However, these links represent things I purchased with my own money and not in any way because of a sponorship or endorsement from any brand. The affiliate link never costs you any additional money and helps me continue to make projects.
Final Thoughts
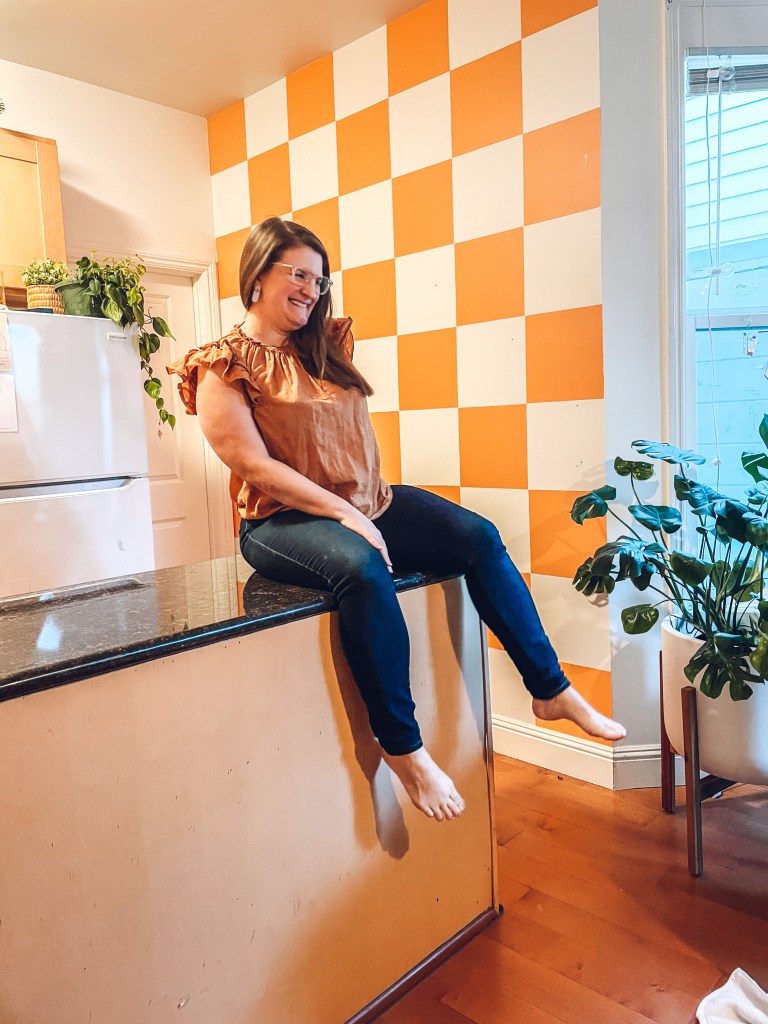
I would absolutely do this project again!! It cost me a total of $39 (and I still have a ton of the vinyl left over) and it took me about a day. Once I knew what I was doing it was so fast from there. It’s super high impact for a DIY project that’s under $50, total customizable, removable, and very on trend right now! Let me know if you have any questions! I’d give it a 10/10 for renter friendly, budget friendly, and good for a beginner!

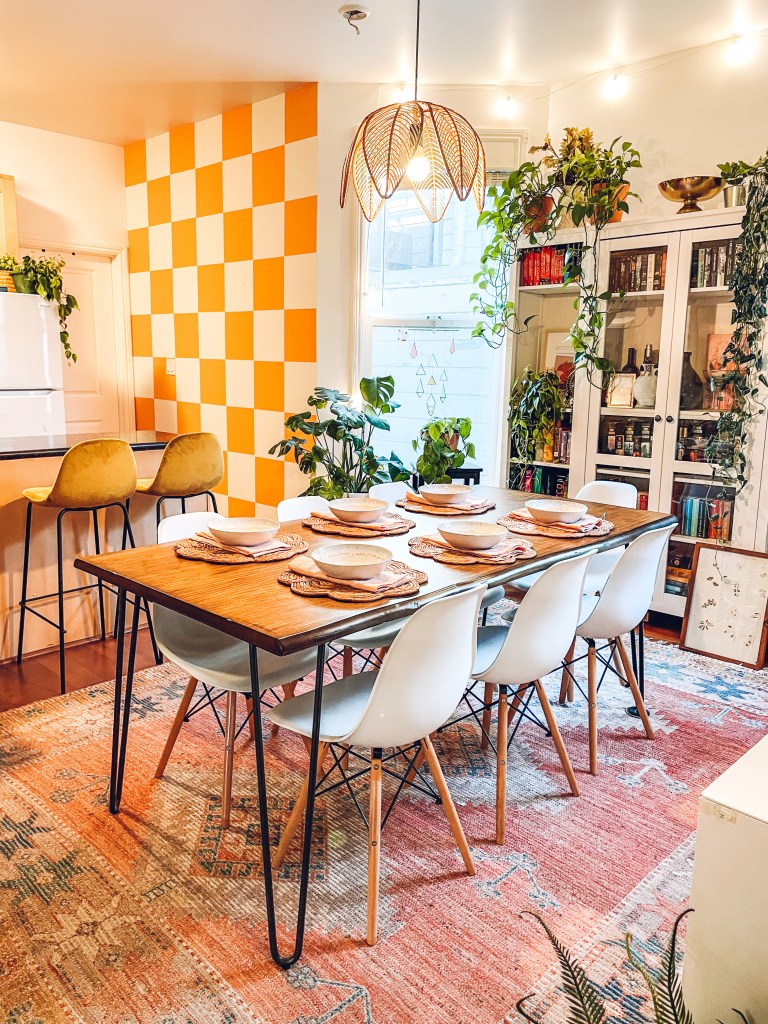
Okay, there you have it! Let me know if you have any questions about this renter friendly and super fun orange checkerboard accent wall and I’ll be happy to answer them.
xoxo,
Amanda
