


Welcome to Week 4! I think the theme of this One Room Challenge is going to be, “What Paint Can Do!” This week I’ve transformed our headboard following a tutorial and using some very basic craft supplies!
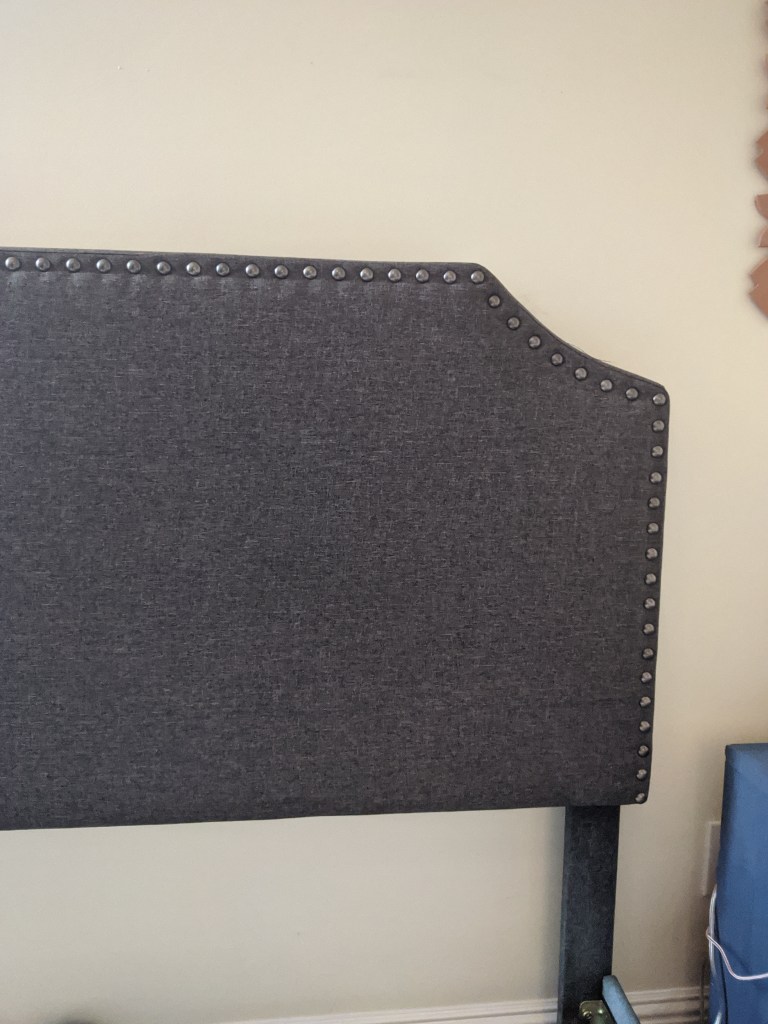
Here, you can see the headboard and frame are a dark gray color. There’s nothing wrong with them, but it just wasn’t giving off enough color for me. I wanted it to be bolder. My dream is to someday have something like the beautiful joybird bed frames made of beautiful velvet colors. Since I didn’t want to have to buy a new frame if I could avoid it, I searched online to see if I could paint upholstery!
I followed THIS TUTORIAL on how to do the project. I did not have the same results she had, so fair warning. But, if you want to go to the source, that’s where I’d recommend you go!
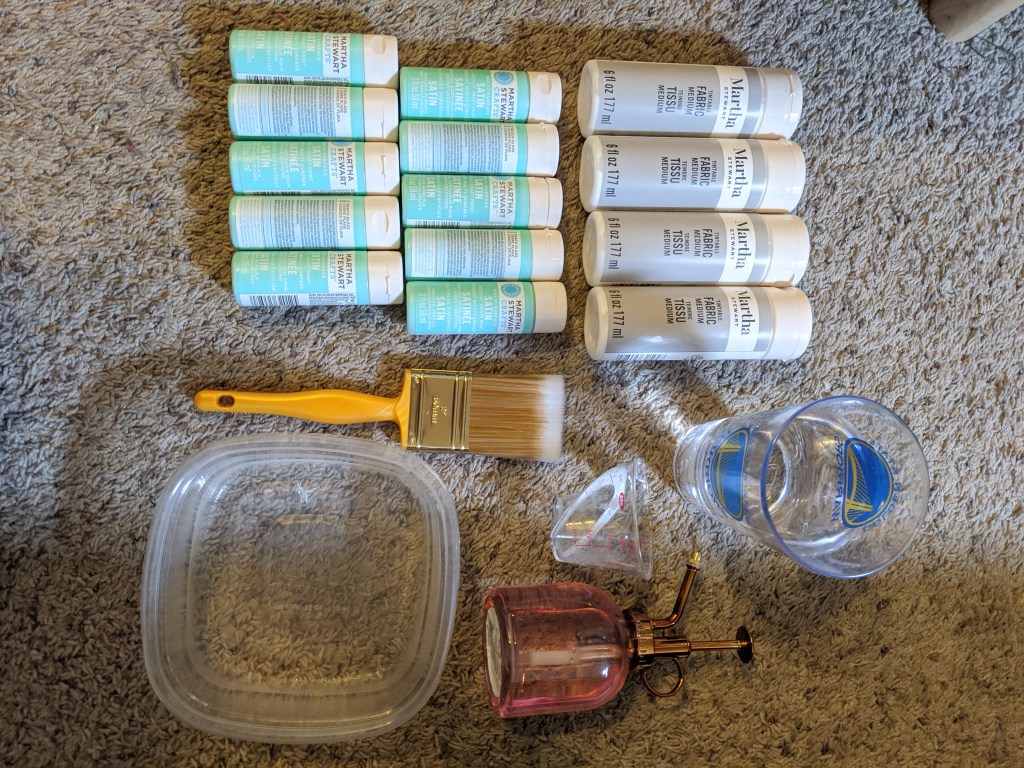
Magnolia Lane recommended a 1:1:1 ration, or 1:1:1/2 ration of fabric medium, paint, and water. She also sprayed the fabric down to make it wet before each coat. Honestly, the sprayed water was overkill on my project and really felt like it made the paint drip and dry unevenly. I ditched the extra water step pretty quickly.
The fabric soaked up the paint so quickly it was incredible. You could hardly tell where I had painted right afterwards. I think I needed to use more paint upfront, but I didn’t have quite enough to experiment with. (If you’re reading this in the future, I’m still under lock down due to the pandemic and going to get more supplies on the day of a project isn’t possible!)
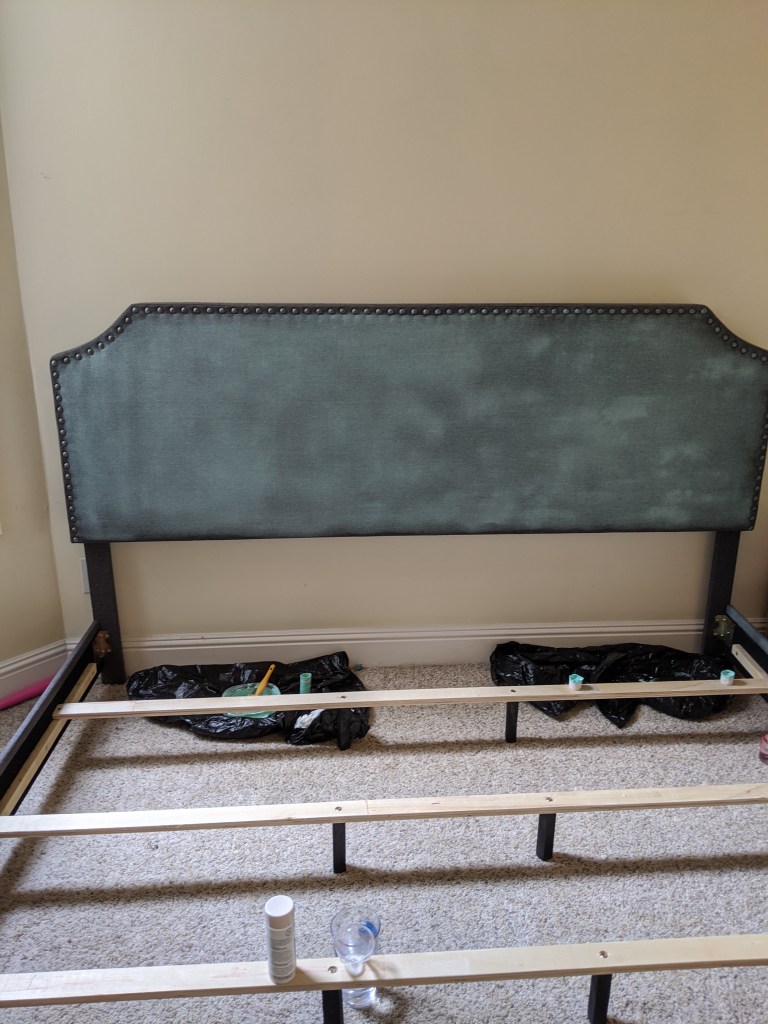
You can see here, this probably after the second coat, that it’s VERY splotchy! It didn’t go on evenly despite me feeling like I was applying the paint in a pretty even method! The first couple of coats took a long time to dry. I am not sure why, but I had to let several hours pass before attempting again, like a whole afternoon.

I really wanted a rich and full color, so I wasn’t satisfied by the earlier layers. I just kept going. The additional layers went on really smoothly, and a lot faster. It kept getting easier and easier. However, it was also getting more and more stiff. The tutorial recommended sanding between layers if you needed to, but ours is a headboard and I don’t care if it’s stiff, honestly! We don’t usually rest against it without pillows so I am happy with the texture.

I didn’t have enough supplies to go around the edge so I will have to take care of that at a later date. I wanted to make sure the headboard was completed for this week! I also think for the edges I might just put the craft paint directly on them and see what happens!
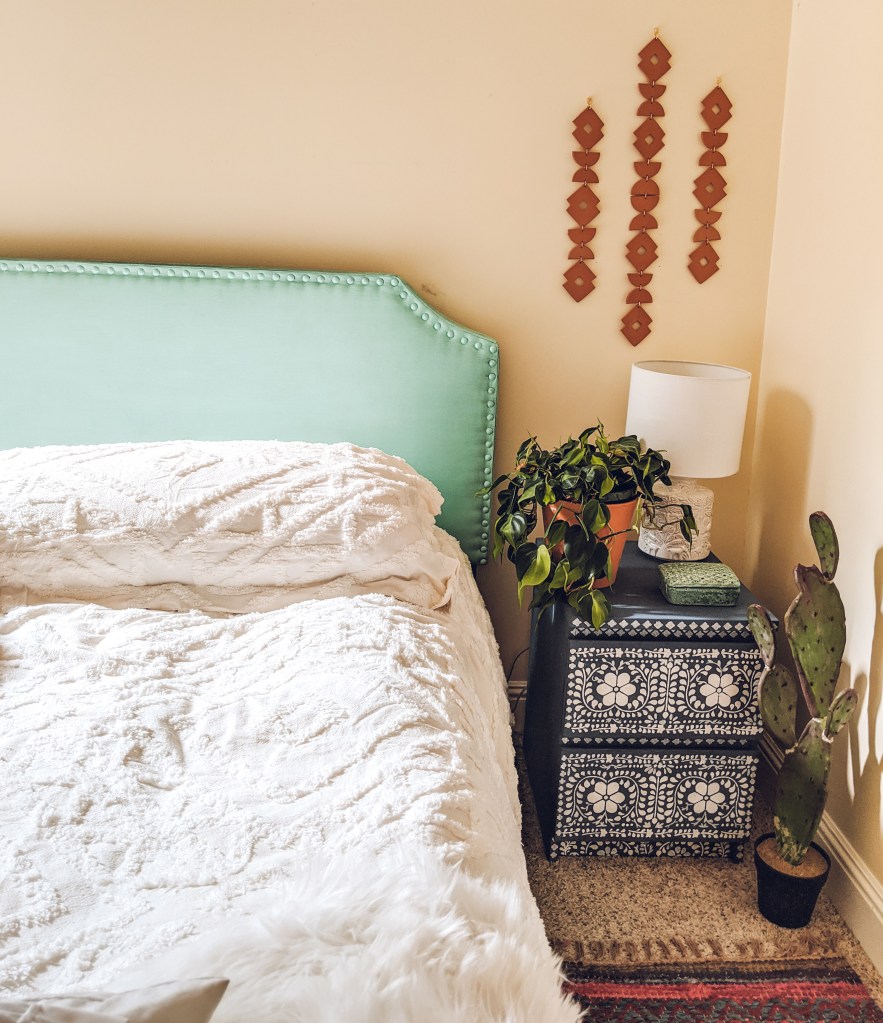
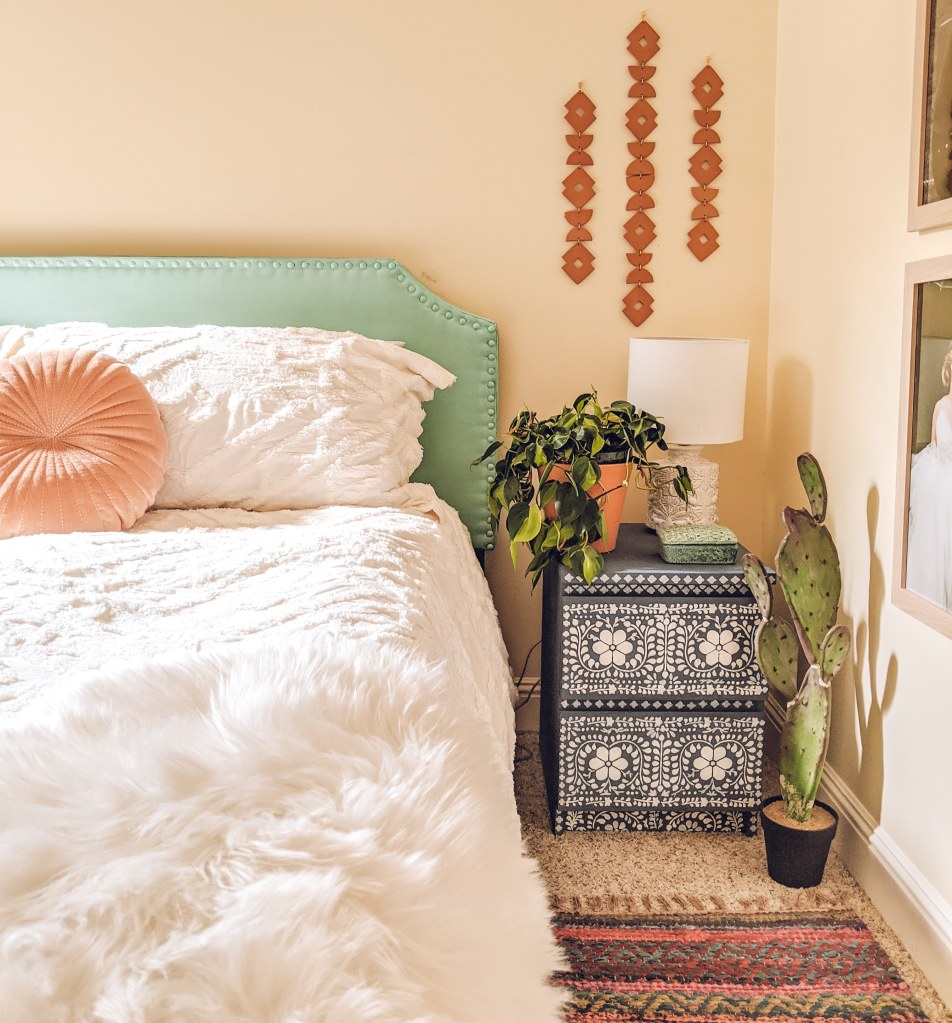
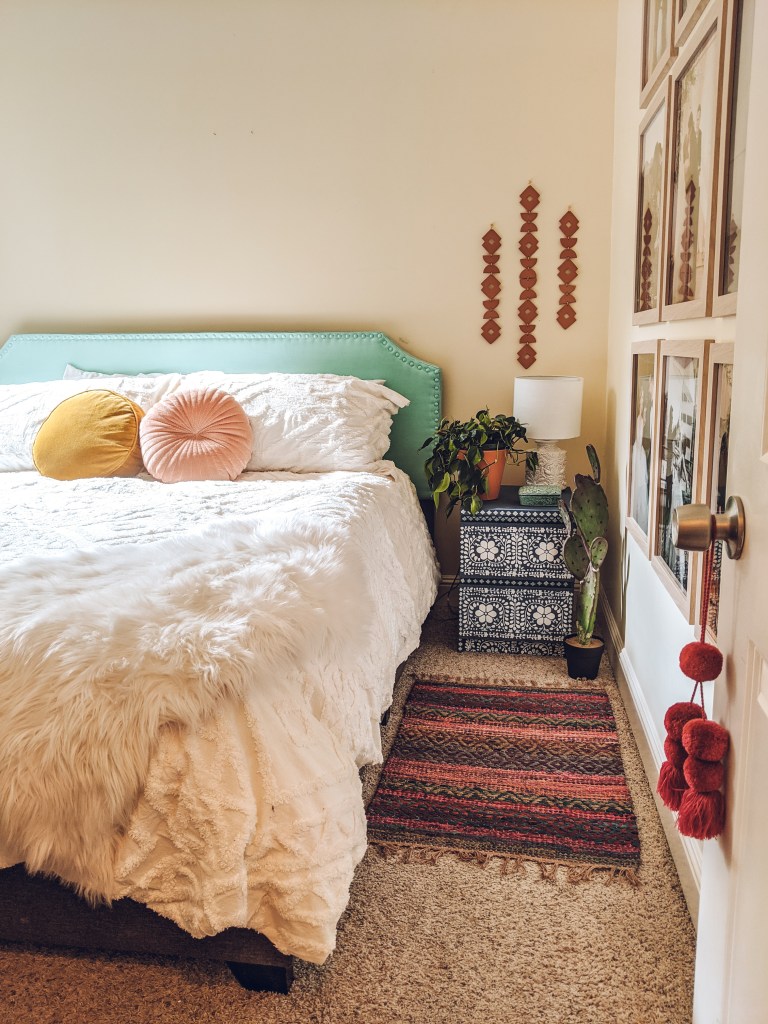
You may notice from the last picture I also changed to an all white bedding! I absolutely love our green linen duvet cover, but I have just been thinking about something brighter in here. When I found this one on Walmart’s website for only $60, I snagged it.
Okay – tell me, what do you think?!
And as a reminder, here is the upcoming posting schedule! (Though hopefully y’all now see that I don’t post until Sunday haha)
- Week 5 – June 4th
- Week 6 – June 11th
- Week 7 – June 18th
- Week 8 – June 25 – July 1st – Final Reveal!
Be sure to check out the other guests and the main featured accounts on the official One Room Challenge page.
Til next week!
xo,
Amanda
/bohofrisco

Hi Amanda,
Bful outcome of this DIY. Love it and hopefully shall try soon.
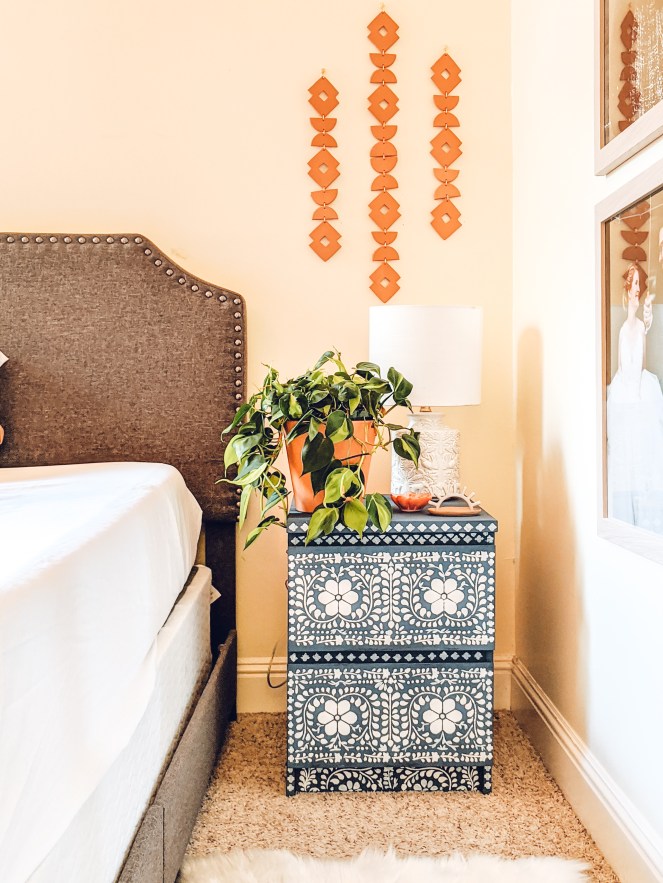
What interests me more is also the black side table with white intricate painting. Is tvat akso a DIY by you. Pls share the link.
Loads of love from India.
Keep up the good work.
LikeLike